In this article
Many of us are still haunted by our grade-school gym class.
Shuffling nervously in line for our first fitness test, the metal bar a glaring reminder of our lack of bulging biceps and lats.
The struggle to grip the bar with clammy palms.
The sea of our peers’ gazes baring down on our backs.
This was usually the first experience we had with the pull-up. It wasn’t pretty. Or fun. It may have even been downright embarrassing.
But we’re here to finally have revenge on the pull-up by becoming pull-up masters, once and for all.
Pull-ups for Beginners
Aside from gaining revenge, mastering the pull-up has a host of benefits for your body in terms of overall strength and aesthetic.
In fact, it is one of the best bodyweight exercises to engage nearly every muscle in the upper body and core simultaneously. Some of these muscle groups include: the biceps, traps, chest, deltoids, and even the obliques. (And to answer the age-old question: do pull-ups work biceps? Yes, they do – and you could even argue they work them better than biceps curls)
The category of “pull-ups” also includes several variations, such as chin-ups and wide-grip pull-ups, which place emphasis on different muscle groups.
Overhand (Standard) Pull-ups
Overhand pull-ups place greater emphasis on the lats (the muscles wrapping around the upper back and side of the body) than chin-ups, and also work to pull our shoulders back and down, improving posture.
Chin-Ups (Underhand) Pull-ups
Chin-ups place less emphasis on the back and lat muscles and more on the biceps and forearms.
Here we’re focusing on the standard pull-up, but feel free to incorporate other variations.
Now that we’ve talked about the various forms of pull-ups, let’s get into our guide to pull-ups for beginners.
1. Assisted Pull-ups
It’s common to avoid or put off attempting pull-ups until you feel “strong enough” to complete them without assistance.
This leads to doing every other exercise besides an actual pull-up; and while you will get stronger, you will most likely still struggle to do one, as it is a unique exercise requiring simultaneous engagement of several “pull” muscles.
This is something we rarely get with other exercises and, in short, means that nothing will prime you to do a pull-up aside from actually doing it.
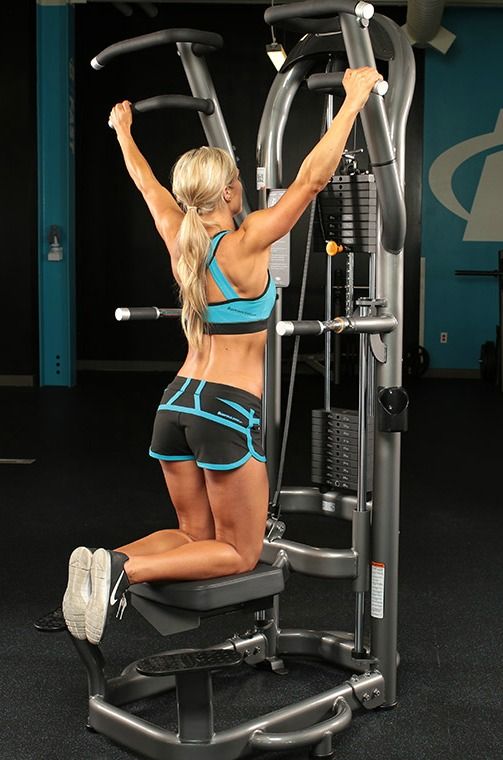
Another common mistake made on the road to pull-ups is using the assistant pull-up machine or the lat pull-down machine. There are two problems with these:
First, the assisted pull-up machine removes the essential “negative” or lowering movement of a true pull-up, as it supports our weight fully on the way down.
This will never lead to a pull-up for the simple reason that pull-up strength is developed during the lowering phase, and can thus only be strengthened by practicing it without heavy lower body support.
Second, both the assisted pull-up machine and the lat pull-down machine act as isolation exercises (targeting smaller upper-body muscles), while the pull-up is a compound movement that engages the entire body.
So what about pull-ups for beginners?
How can we even start doing pull-ups if we can’t manage one without assistance?
Luckily, there are several progressions we can go through to assist us in performing the pull-up without sacrificing form. A few versions to try are:
Assisted Pull-Ups with a Band
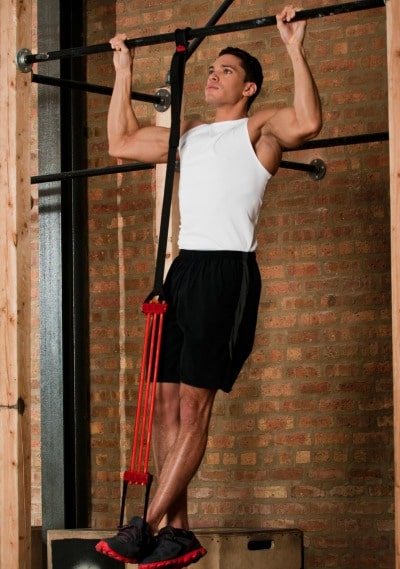
Band-assisted pull-ups are one of the best ways to work up to a pull-up, because they allow you to hold your full weight during the lowering phase, while providing just enough assistance to reach your chin over the bar.
The great thing about these bands is that they also come in different degrees of support, meaning you can slowly progress from a tighter band (which gives your more assistance to pull yourself up to the bar) to a looser band until your virtually pulling up on your own.
Assisted Pull-Ups Using a Chair
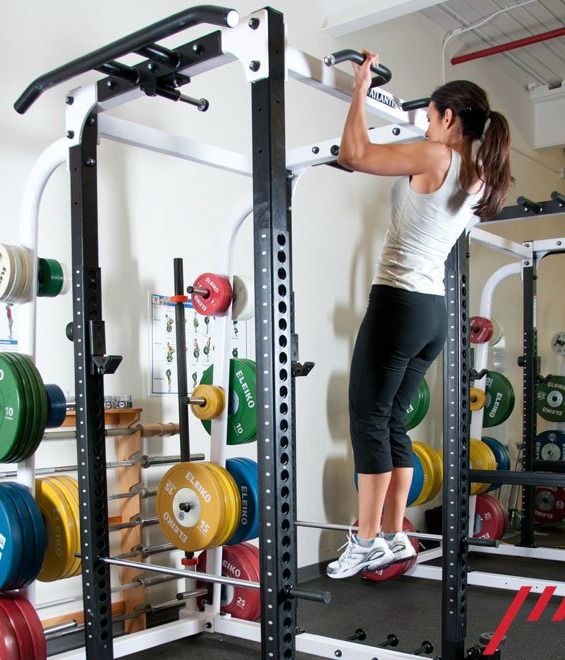
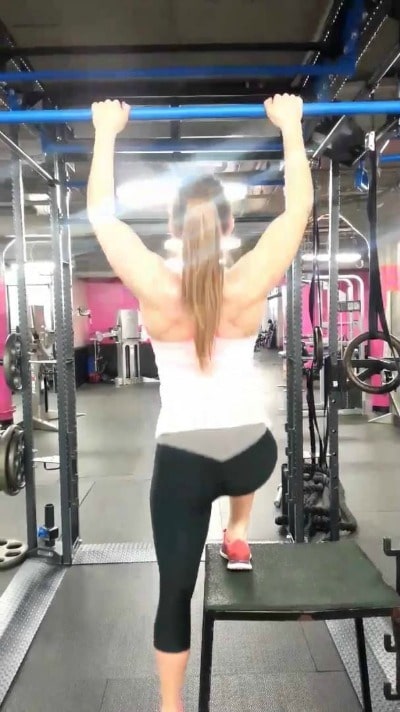
While not as efficient as the band-assisted version, placing one of two feet on a chair to assist your pull-ups is an option.
However, be sure to only use your feet only for light support and concentrate on using the upper body as much as possible.
Assisted Pull-Ups with a Partner
Using a partner to assist you during pull-ups is another option. Simply have them hold your feet during the pull-up, giving you as little or as much push as you need to get your head over the bar.
2. Dead Hang Pull-ups
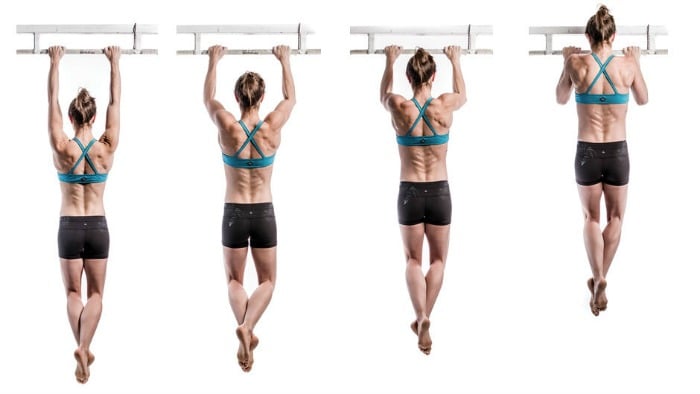
The dead hang is a great option for building the grip and shoulder strength needed to correctly perform a pull-up.
What you want to do is perform an “active” hang by lifting your chest up, slightly bending your elbows, and pulling your shoulder blades together as you hang. Avoid simply hanging by your finger tips and concentrate on engaging not only your back muscles, but also your core and glutes.
This type of active hanging gets your muscles accustomed to being engaged at all times during the pull-up, avoiding one of the common mistakes of letting your body go completely slack at the bottom of your pull-up.
3. Negative Pull-ups
As we learned earlier, pull-up strength is developed on the negative, or lowering, portion of the pull-up.
This progression is viewed by many as one of the most effective ways to build strength, due to its eccentric nature.
Eccentric exercises are exercises that contract a muscle as its lengthening, and has shown through various studies to produce 20-30 percent more gains in strength in athletes (1).
In this case, we focus exclusively on developing that strength by doing a “negative” pull-up, which involves either jumping up above the bar and slowly lowering ourselves down, or using a chair to get above the bar, then lowering down.
This is an excellent option if you don’t have a partner or access to bands, as it builds the necessary muscles in the arms and the back.
Just be sure, if you’re jumping above the bar then lowering, to lower slowly, engaging the back, arm, and core muscles fully. Also avoid rushing the movement.
Proper Form
It’s tempting, especially as a beginner using assistance, to try to pull yourself up into a pull-up using only your arms.
However, much of the strength required to get up over the bar lies in your back muscles, so it is essential to develop proper form even during assisted push-ups. Below is a checklist to run through once you’ve started:
- Instead of concentrating on using your arms to pull yourself up to the bar, think about pulling your shoulder blades down and together as you lift your chest toward the bar (instead of focusing on getting your chin over). Make sure your hands are slightly wider than shoulder-width, palms facing away from you.
- Avoid swinging. Instead, focus on engaging your glutes and core muscles as you pull-up.
- At the outset of your practice, you may only be able to hang and squeeze your shoulder blades together, which will lift you a few inches. It’s perfectly fine to start here, as you are strengthening the correct muscles and building the foundation needed to pull-up correctly.
- Use the least amount of assistance you can handle.
How Often?
For beginners, start with performing assisted pull-ups, dead hangs, or negative pull-ups for 3-5 sets of 3-5 repetitions 2-3 times per week. Once you reach 6-8 repetitions, try using less assistance.
When You Can’t Get to the Gym
If you’re worried about not having access to a bar to practice your pull-ups, consider the following:
1. Use a tree limb
2. Visit a local outdoor park or gym, which usually has pull-up bars
3. Purchase a pull-up bar for your home. These usually fit into a door frame, making them one of the most convenient options.
A Note on “Kipping” Pull-ups
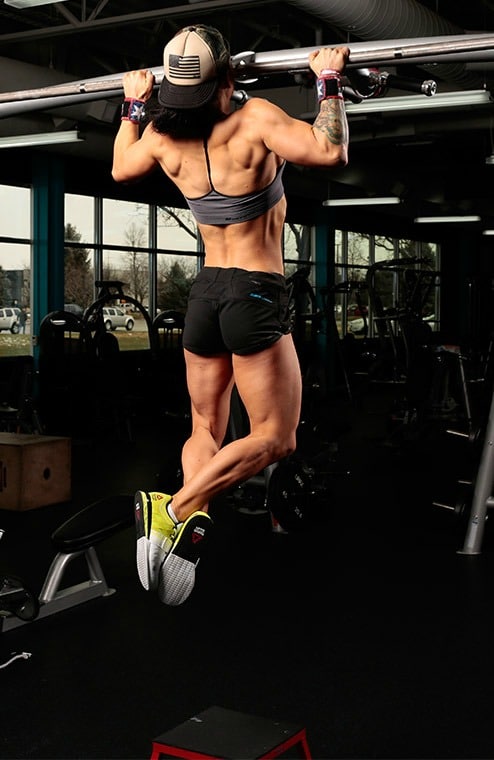
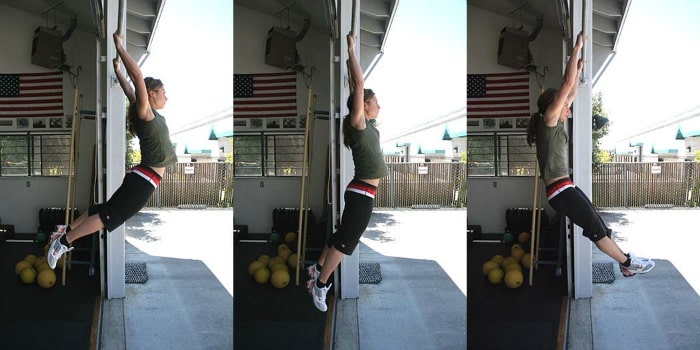
If you’re familiar with Crossfit, you may have heard of a type of pull-up called a “kipping” pull-up, which involves utilizing momentum from kicking and swinging your legs to propel you over the bar.
While this certainly allows you to knock out many repetitions in a short amount of time, it does little to improve the strength needed to perform true pull-ups, as you’re basically relying mostly on momentum to clear the bar.
Get Stronger Faster
By adding in pull-ups and assisted progressions to your workout routine, you’ll begin to see great strength gains not only during your pull-up work, but also while performing other upper-body exercises as well.
Now – let’s get busy and rewrite our pull-up history.
Bodyweight Exercises Rock
When it comes to getting strong and lean, there’s nothing quite like a bodyweight workout to take things to the next level.
Want to give on a try? Check out my 20-minute Bodyweight Workout, a $29 value, which you can get for FREE!
Click the banner below to download an instructional video, workout tracker, and follow-along audio.

